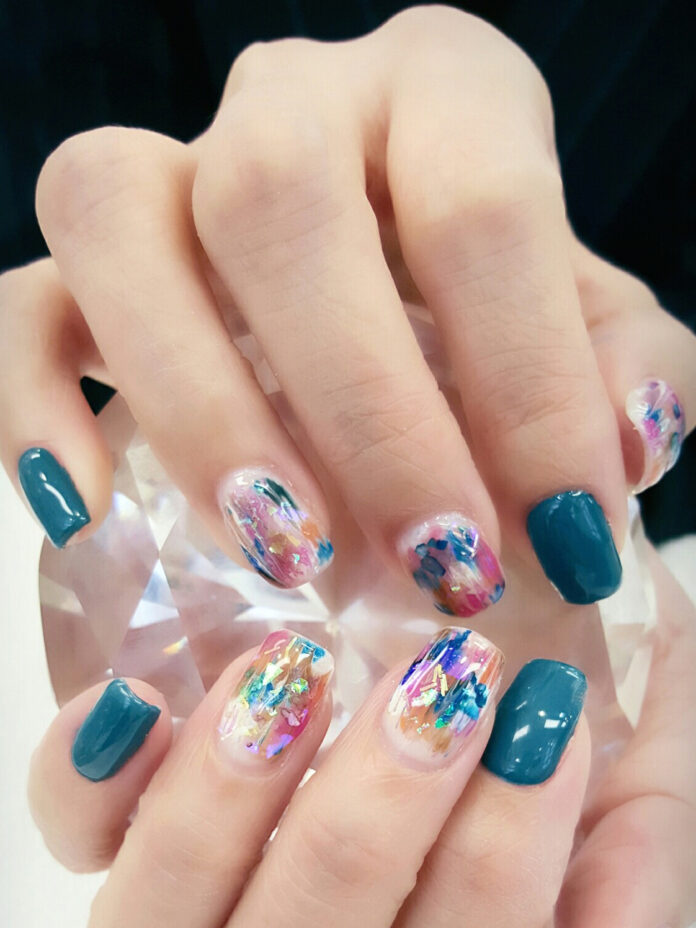
Performing a DIY manicure at home can be a lot of fun. But nothing is more frustrating than having a chipped nail or flaking off polish just a couple of days after putting so much hard work into it. It might almost seem impossible to make your manicure last longer with the day-to-day activities and hustle.
This might make you eager to find effective methods to tackle this problem and make manicures last for a long time. You are in the right place to find the seven most efficient tips to have a long-lasting DIY manicure. But before we jump into these tips, let’s look at how long a manicure usually lasts.
How Long Can a Nail Polish Go Without Chipping?
This might have popped in your mind quite often, and you must be curious to know how long the nail polish lasts before chipping. Well, it entirely depends on how you maintain it. It will differ from person to person and the type of manicure we perform. A typical nail paint would last up to a week before chipping. If you choose a long-wear formula, such as no-chip choices or gel polish, your manicure could last up to about two weeks before it starts chipping.
The 7 Best Tips For Long-lasting DIY Manicure
Here are the seven best tips that you can follow to sustain your DIY manicure for a long time:
First, clean your nails:
Using nail polish remover first is essential, even if you don’t have any nail polish. The dirt and naturally occurring oil on your nails can make it difficult for the paint to adhere, resulting in chipping, flaking, and discoloration.
Using a remover helps to eliminate any natural oils that can prevent your nail polish from sticking correctly to the surface. However, unlike what they usually do at salons, you should avoid soaking while doing your DIY manicure. Because when you bathe your nails in water, they stretch, and while drying, they shrink, making cracks in the nail polish.
To have a seamless manicure, use the best gel nail polish after you clean your nails and apply a base coat.
Use Apple Cider Vinegar:
This common household item can be the best hack to make your DIY manicure more effective. After thoroughly cleaning your nails, put some apple cider vinegar on a cotton pad and wipe it over them. After that, let your nails air dry for around 10 minutes before proceeding.
The acids in the vinegar can help the polish stay on your nails longer, and even if they smell a little at first, the smell fades eventually. This famous trick is supposed to extend the life of nail polish to up to two weeks at the least.
Don’t Forget The Base Coat:
It’s not going to be perfect with just one coat of paint. A wholesome, high-quality base coat is a sure-fire way to extend the life of your manicure. To prepare your nails for the polish, apply a thin, transparent base coat first. Consider it a primer, similar to the one people usually use for cosmetics.
It will not only provide strength to your nails and guard them against stains and allow for a smoother application of nail polish, resulting in minor chipping. Allow at least 15 minutes for the base coat to dry. For best results, invest in a high-quality base coat.
Seal The edge:
A transparent topcoat is needed to ensure that the polish lasts as long as possible. After putting it over your last layer of color, a nice trick is to swipe some extra over the tips and on the bottom edges of your nails, as these are the region’s most susceptible to chipping. If you get an excellent chip-resistant lacquer, your polish won’t peel over time.
Go for Correct Application:
I
Using too much polish can impart a rough finish that takes forever to dry. It can also generate the nasty bubbles that you sometimes notice in nail lacquer. You must take your time and don’t rush through it. Ultimately, the idea is to use just about enough polish to cover the nail in one coat.
Put the nail paint in three stripes, one on each side and one in the center, to look like a pro. Your application will be streaky and uneven if you use more than this. Then, before applying your next coat, wait at least two minutes. The longer you wait, the nicer.
Also, you must not use hot air to dry your nails. People often go for the highest setting on the blow-dryer, but instead, you should opt for drying it with cool air. You can use the cool air setting on the dryer or place your nails underneath a fan to get it completely dry. Hot air might inhibit your nails from drying correctly.
Go For A Shimmery Shade:
Shimmer colors are a fantastic choice, and they will last a long time. Choose a light-reflecting polish with a thin base. Some of them are available in transparent shades, while others are iridescent. They can better assist the central color polish stick and make your nails pop out.
Before applying your primary color, use this polish over the base coat. It will be an excellent neutral addition to your color of choice as it will be beneath the primary color.
When Doing Chores, Use Gloves:
Household chores can significantly damage your manicure. Thus, you must take care of your hands and the nail paint to ensure a long-lasting manicure. Water and cleaning agents can readily soak nail paint. When cleaning and doing domestic duties, try using gloves to protect your manicure. This can help to a great extent.
Conclusion
DIY manicures at home are a great idea to save up some money and experiment with new styles by yourself. However, to ensure that these manicures last long, you can follow these full-proof tips mentioned above and show off your nails for days.

